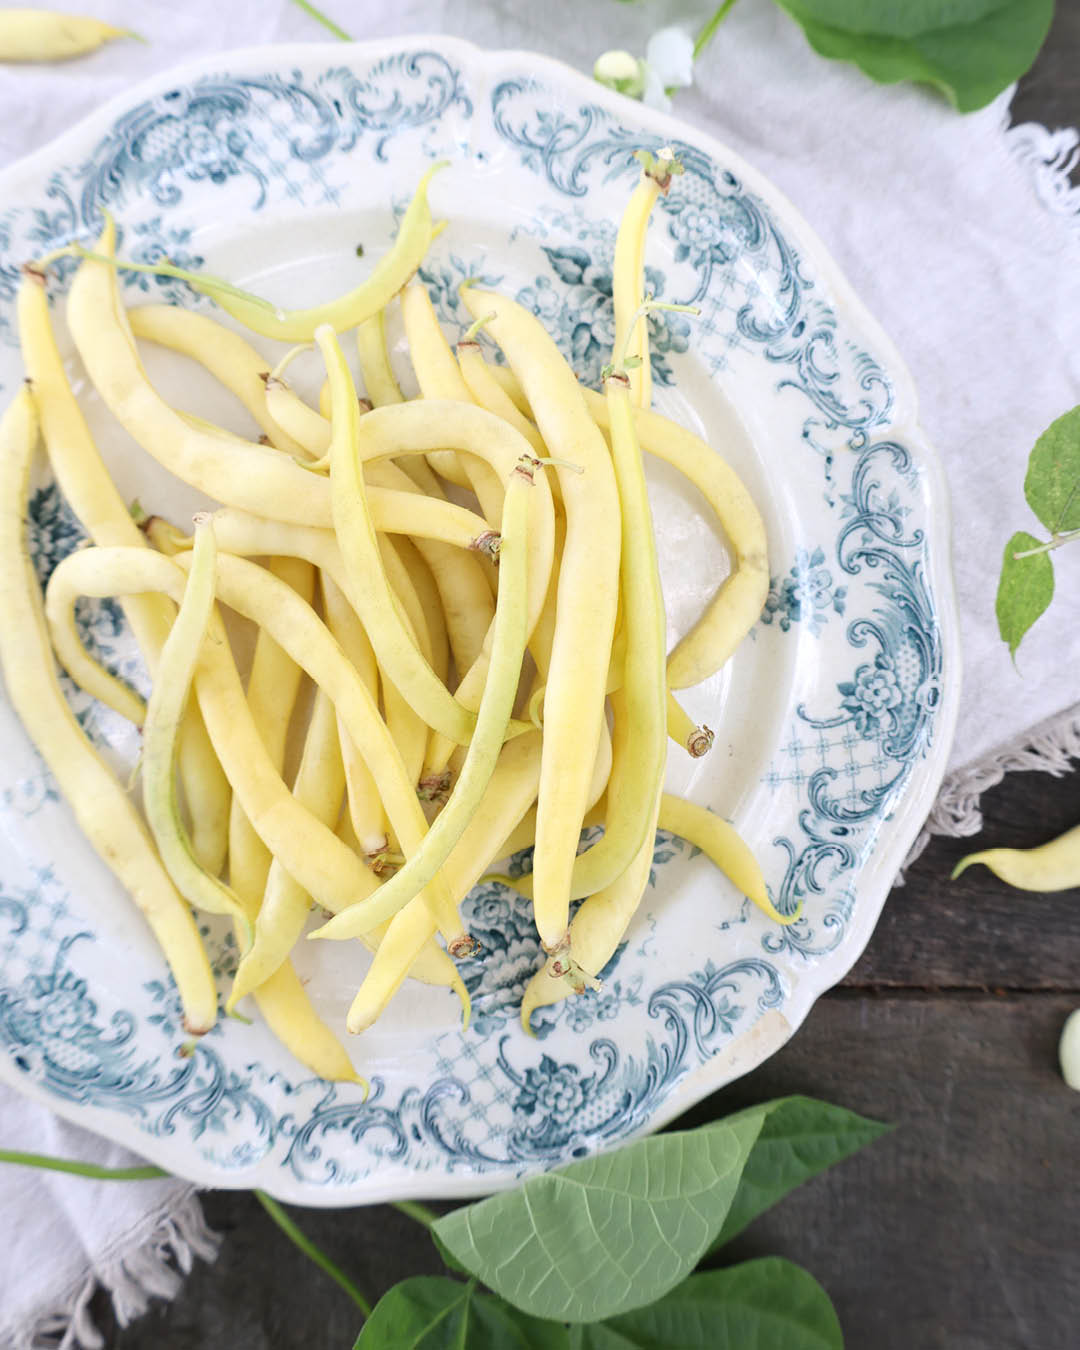
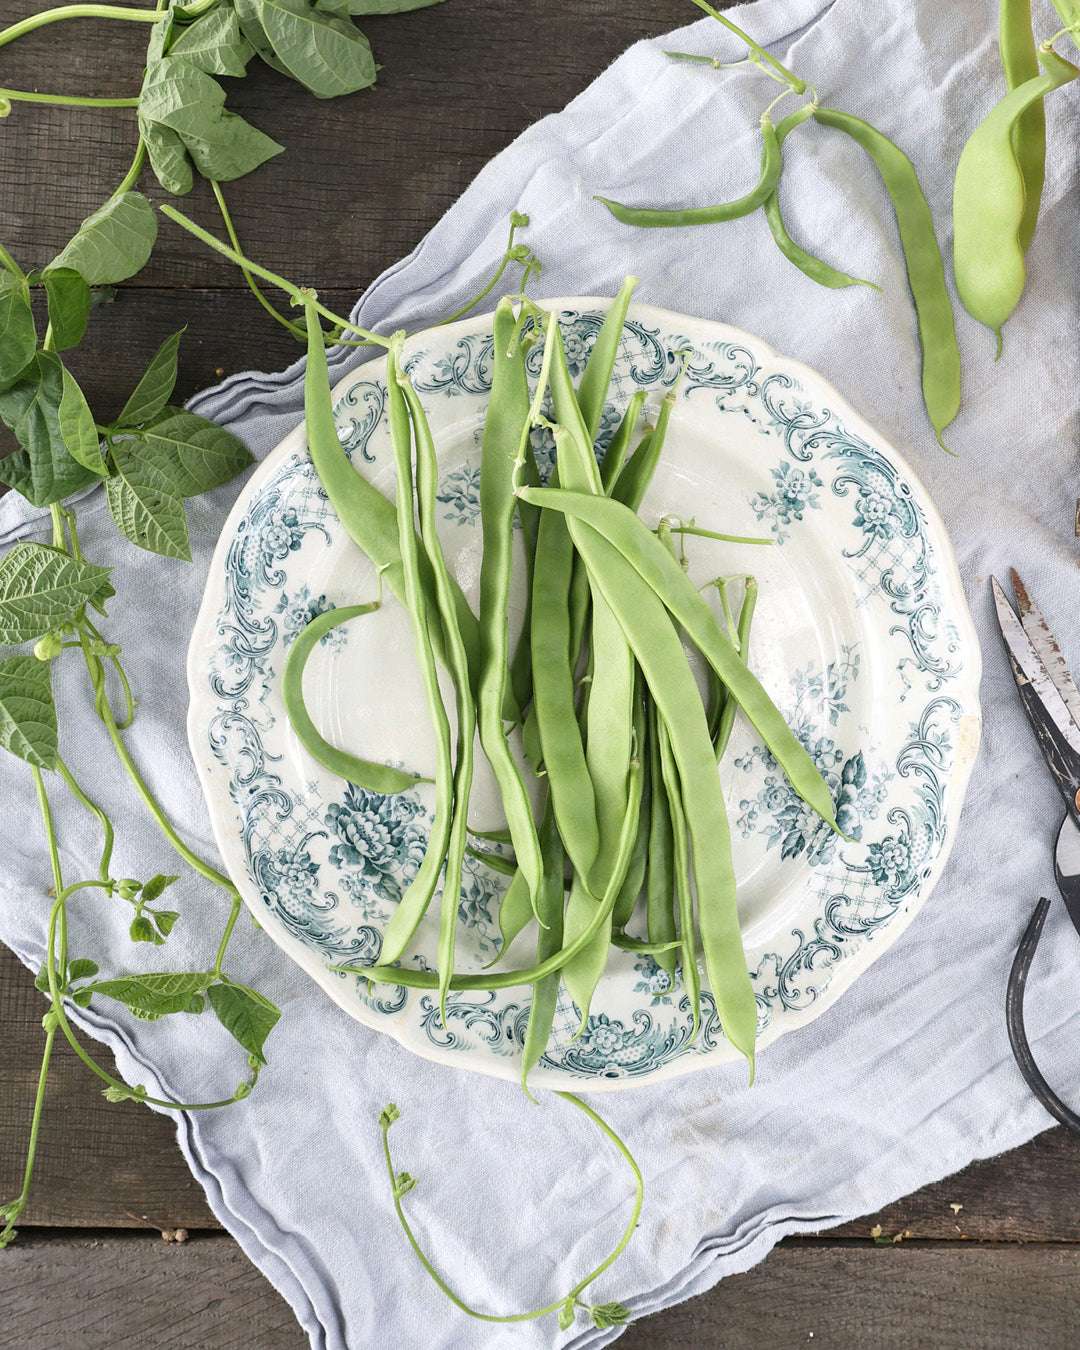
straw bale bed
Plants need three things to grow, bloom, and bear fruit: light, water, and nutrients – and a medium that provides support for their roots. The substrate serves only as a habitat for the roots and for anchoring. Since the problem of nitrogen fixation is solved by fertilizing with straw, straw represents an ingenious alternative to peat, coconut, or wood fiber.

This is what you need:
•Straw bales (square bales, approx. 50 cm x 60 cm x 70 cm
and a weight of about 6–8 kg/bale)
•organic or mineral fertilizer with a
N-PK ratio of approximately 10-10-10 to 15-10-10
•Pot soil
Time required
•10–20 days for preparation
•15 minutes per day for watering and fertilizing
during preparation
Extras
•Percolator hose and connections for automatic irrigation
Straw is a renewable raw material that can be used in almost unlimited quantities
In addition, it is available almost everywhere in the surrounding
environment. What's more, straw is cheap. A single bale
costs only a third to a quarter of the comparable amount
Potting soil. And straw is easy to transport and carry.
Setting up straw bales
The straw bales are placed in rows in the sunniest possible spot in the garden. They are best placed north-south, so all plants receive equal light. The distance between the rows should be about 80 cm to 100 cm, allowing for easy walking between them and allowing enough space for plants that grow over the edge of the bales.
Important: The water supply
Since straw doesn't retain as much water as regular potting soil or garden soil, it needs to be watered regularly in the summer. An automatic watering system with drip or soaker hoses eliminates the need to lug watering cans or water with a garden hose during hot and dry weather.
Fertilizer for straw and plants
Since straw contains almost no nutrients, being nothing more than dry, woody material, the addition of fertilizer, especially nitrogen, is necessary. These nutrients are important not only for the plants, but also for the bacteria and fungi that gradually decompose the straw. This conditioning or preparation of the bales takes about three weeks. Only then will the nitrogen needs of the bacteria in the straw be met, the straw will have slightly rotted, and you can begin sowing or planting vegetables and herbs.
1.The straw bales are placed in rows in the vegetable garden. To prevent the paths between the bales from becoming muddy and slushy in wet weather, the soil can be covered with weed control fabric and covered with bark mulch. A drip hose connected to a faucet ensures a consistent water supply in the summer.
2.For fertilization, spread one cup of complete fertilizer per bale. The fertilizer must have a high nitrogen content.
3.It is important to water the straw so that the bacteria in the straw can process the fertilizer. This process is repeated several times during the first ten days: add half a cup of fertilizer to the bales every other day, and only water on the other days. During this rotting phase, the straw heats up to 40–50°C. If it rains during preparation, the bales should be covered with plastic film to prevent the nutrients from being washed out. In the third week, only water is applied, followed by another application of fertilizer, which benefits the plants. Mold or small fungi almost always appear on the surface of the straw bale during the conditioning phase. These are completely harmless and can simply be brushed off by hand if they cause problems. They are actually a good sign, as they show that the rotting process is underway inside the bale. After a while, they disappear on their own. They pose no danger to the plants or the gardener. Only people with severe allergies should exercise caution when handling the bales.
4.To give the plants or seedlings a good start, a layer of sowing or potting soil about 5 cm thick is placed on top of the straw.
5.Vegetables such as carrots, radishes, or lettuce are sown in rows or spread over the root ball and covered with a thin layer of potting soil. Then, water with a gentle spray from a hose or watering can.
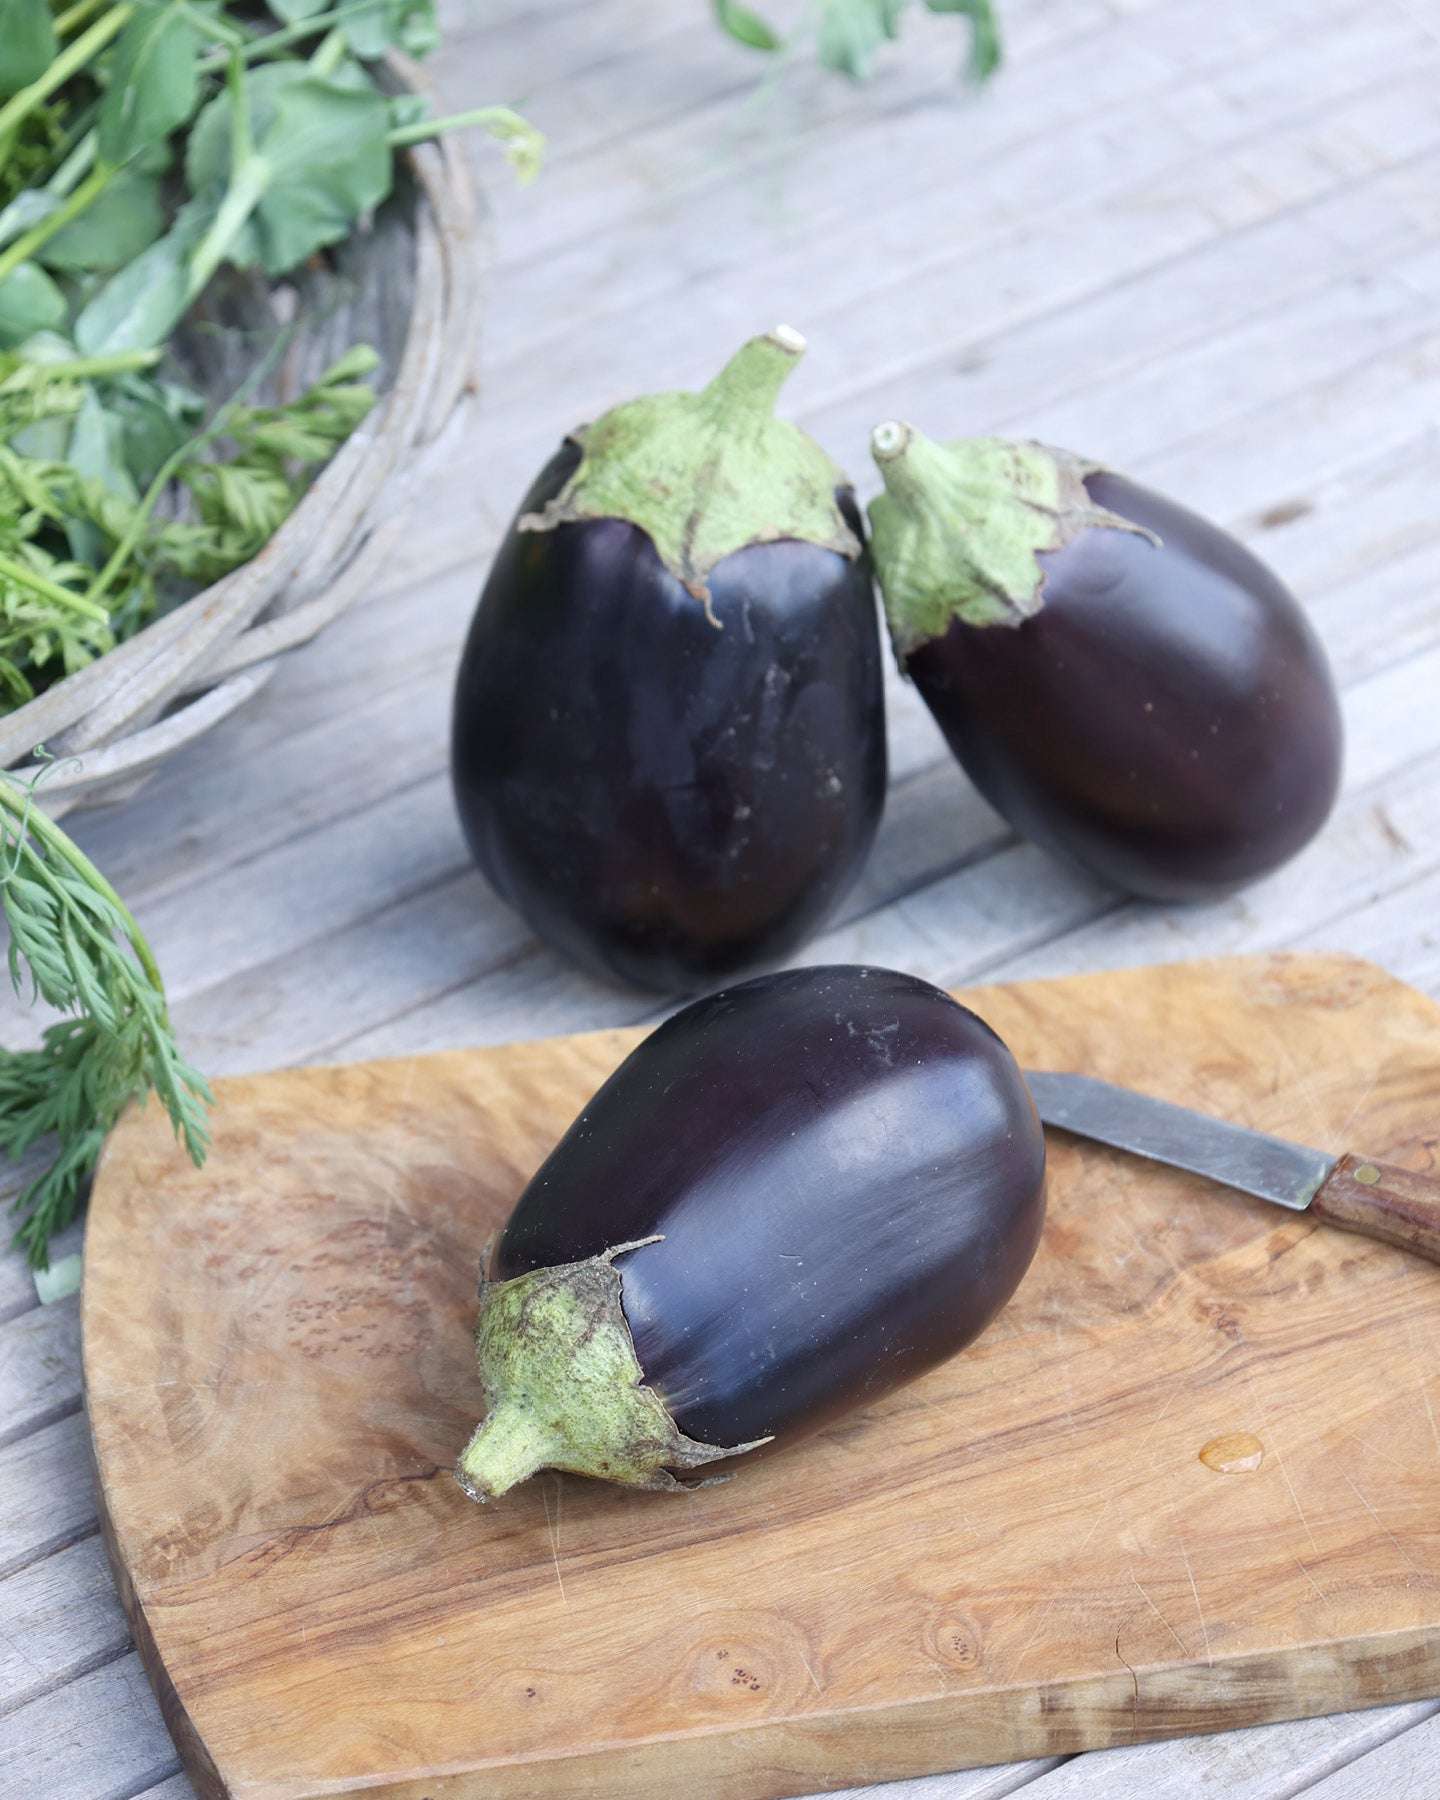
6.Strawberries, lettuce, leaf lettuce, chard, tomatoes, peppers, and many other vegetables are planted directly. Use your fingers to create a hole in the straw and place the seedling into it. Then water it. Both seedlings and young plants will grow faster on straw bales than in garden soil, as the bacteria in the straw continue to work, generating heat. While the soil in the primary bed is still cool and moist, the temperature in the straw bale bed is several degrees Celsius higher.
7.Provided regular watering, virtually all vegetables and herbs will grow and thrive in straw. Only perennial varieties like artichokes and rhubarb, or perennial herbs like lovage, thyme, oregano, or lavender, are less suitable, as the straw decomposes after one season and is spread around the garden as valuable humus for soil improvement, as mulch, or to cover beds in winter.

Additional fertilization
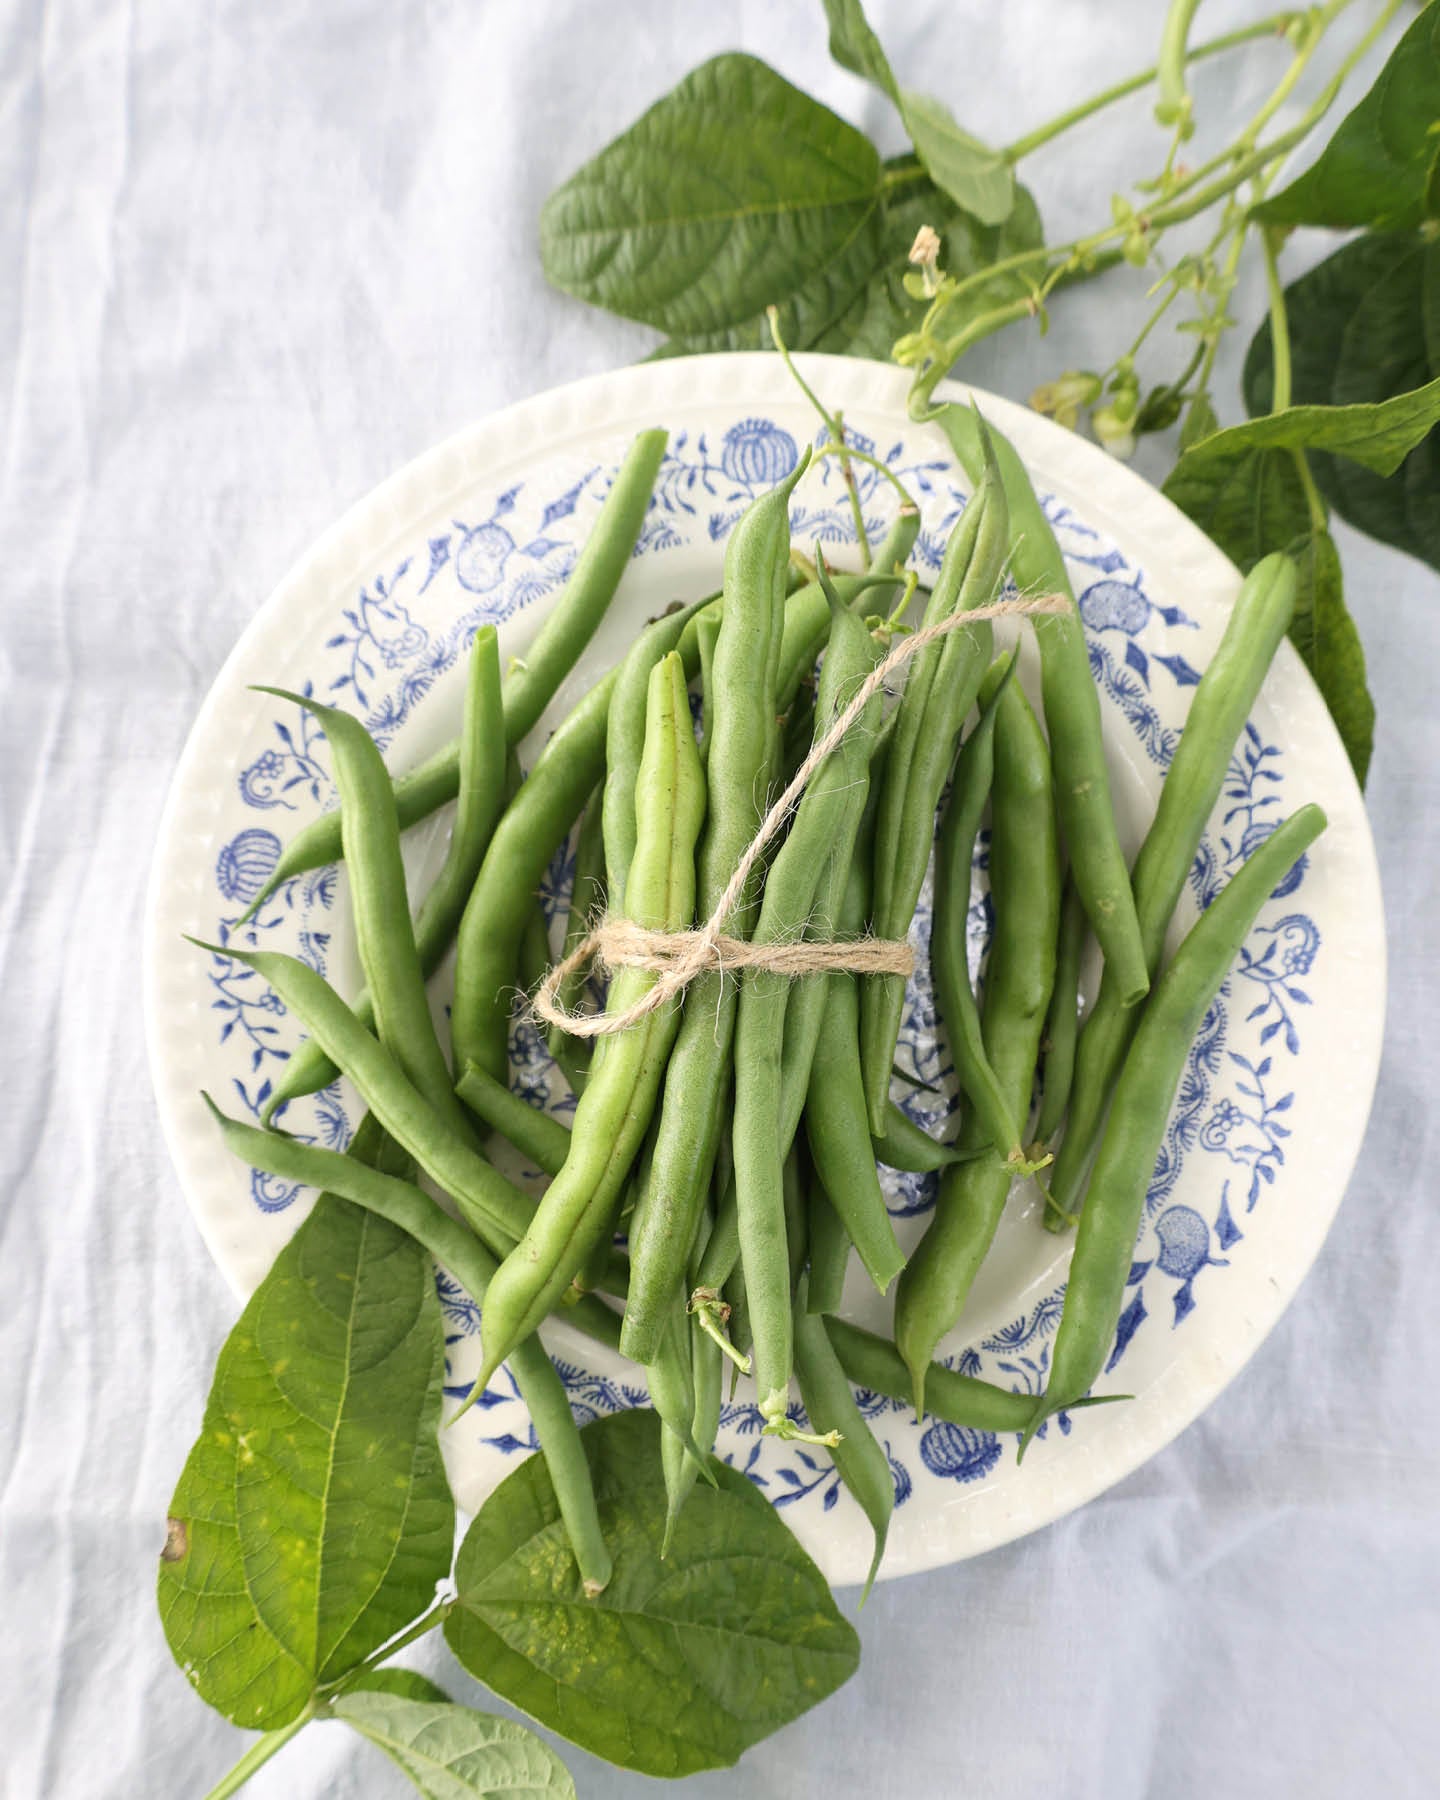
For most vegetables and herbs, the nutrient supply in the straw is sufficient for growth. No additional fertilizer applications are necessary for all herbs, salads such as lettuce, endive, radicchio, lamb's lettuce, Asian lettuce, and arugula, as well as leafy vegetables such as chard and spinach. Carrots, parsnips, radishes, turnips, peas, beans, onions, garlic, and leeks also do not require much fertilizer and do not require additional fertilizing. One or more additional applications of fertilizer in summer are advisable for high-nutrient vegetables such as bulb fennel and celery, as well as potatoes and all types of cabbage. Fruiting vegetables such as peppers, tomatoes, eggplants, and zucchini, which continuously produce new fruit from July onwards, should be fertilized regularly.
Strawberries on straw bales
Garden and monthly strawberries are suitable for growing in straw bales; wild strawberries yield higher yields when planted under berry bushes in the garden. Strawberries need cold temperatures to develop flower buds. Since they can only be planted on straw bales in spring, frigo plants are used instead. These are strawberry seedlings that were dug up in propagation centers in November of the previous year and kept in an artificial hibernation at -2°C until planting in April or May. Harvesting is possible approximately nine weeks after planting. With frigo strawberries planted from May to July, you can harvest strawberries from the beginning of July until September.
← vorheriger Post: Building shelter for our garden beneficial insects

The content of this article is from the book:
Folko Kullmann
Garden & balcony projects– for do-it-yourselfers
Price: €(D) 15.00 / €(A) 15.50 / sFr 21.90
ISBN 978-3-8354-1645-1
BLV Publishing
Following the great success of its two predecessors, "Garden & Balcony Projects for Do-It-Yourselfers" (BLV Buchverlag) is now available, a selection of Folko Kullmann's most popular instructions. Homemade garden utensils, furniture, and appliances are more individual, creative, original, and affordable than store-bought ones. The practical projects in this book are all quick and easy to replicate. With the precise step-by-step instructions, you're guaranteed to succeed.