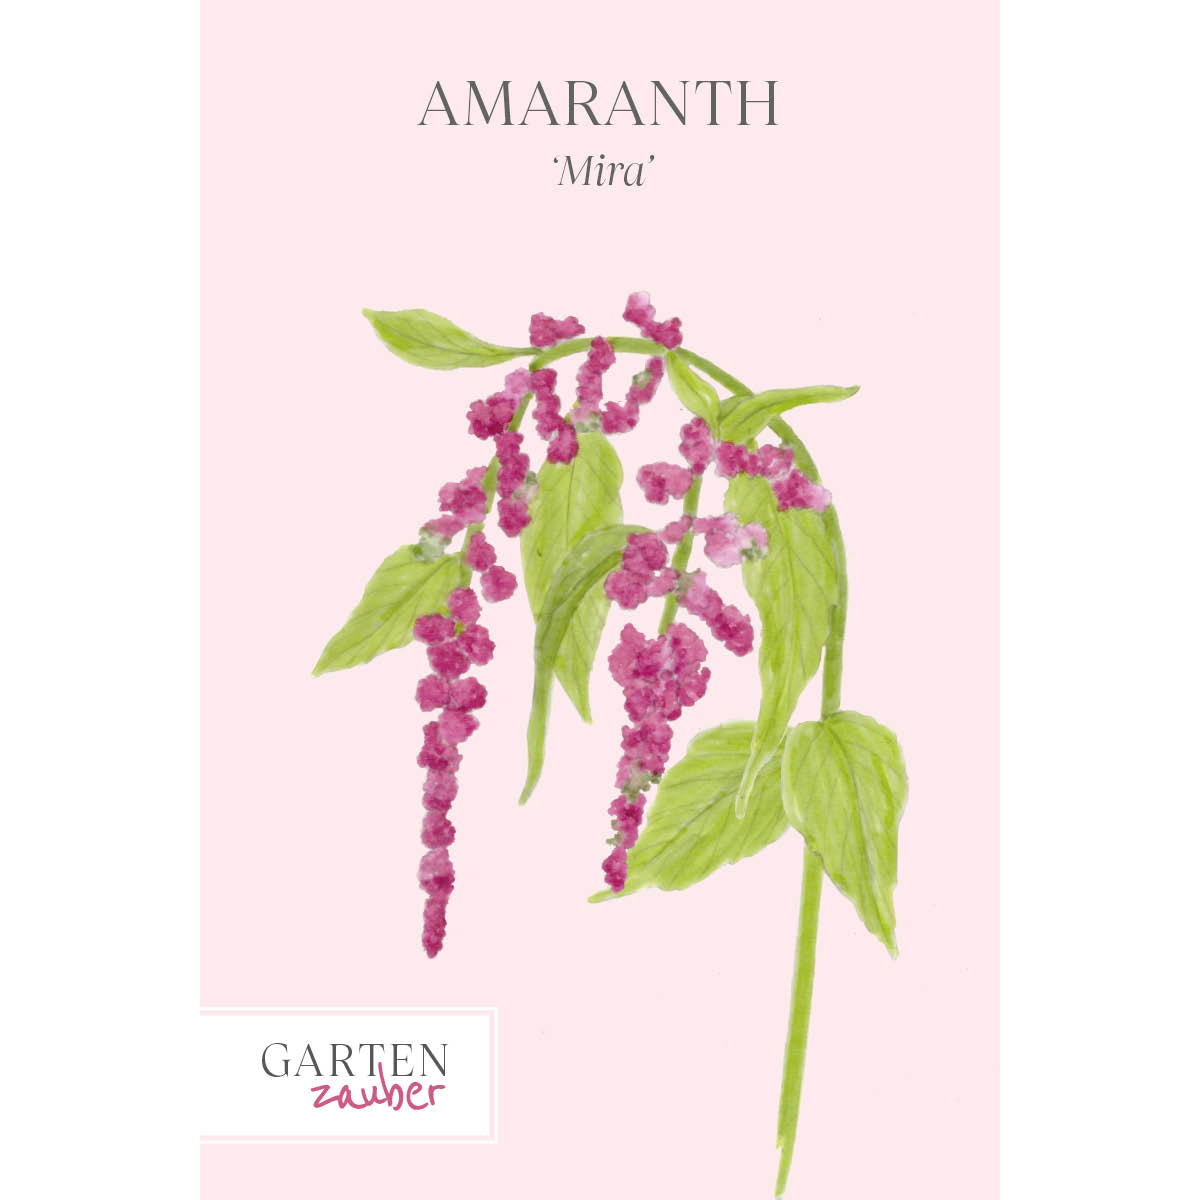
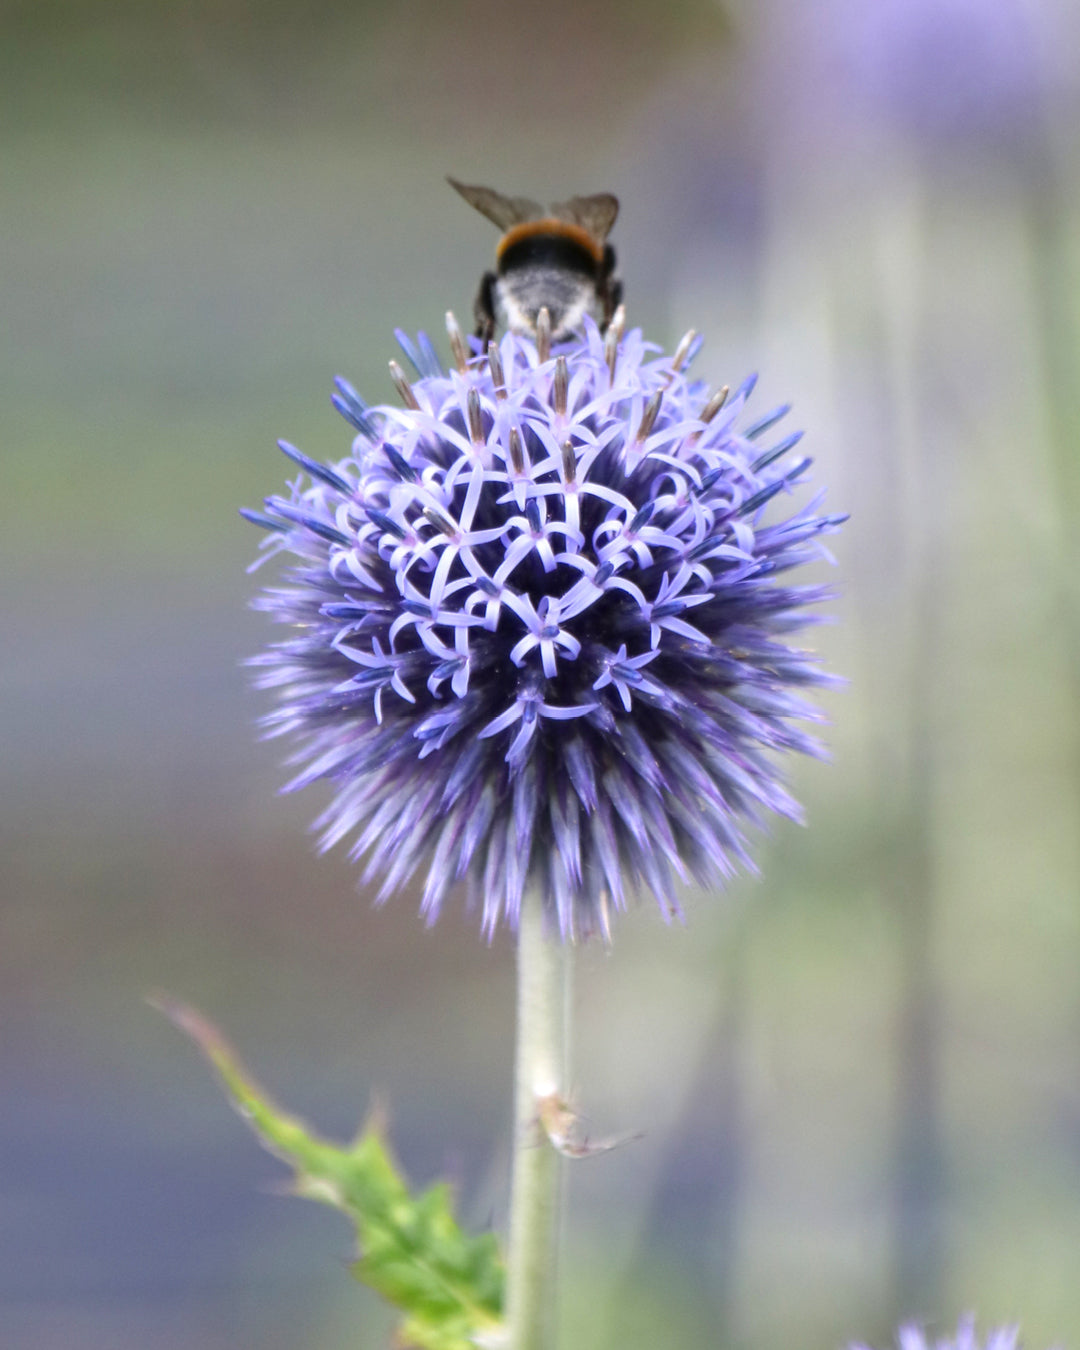
Happiness should be shared – perennials too!
What a spa day is for us humans, division is for most perennials. They emerge from this process rejuvenated and strengthened. "Many perennials should be divided at regular intervals," recommends Martin Becker, a perennial gardener from Dinslaken. The benefits of this effort in the garden are manifold. "The perennials are more vital and vigorous afterward," explains the expert. By removing and dividing, the newly acquired plants can also be used to create new garden designs and easily adjust plantings. Below, Becker offers expert tips on dividing perennials.
Share – but when?
"If you have a feel for your plants and walk through the garden with your eyes open, you'll be able to tell when it's time for division," says the perennial expert. Signs that indicate division are plants that have grown too large or are crowding out other plants. Plants that are growing too long and are no longer stable, or are weak and flowering slowly, are also very beneficial to divide. If the plants are aging from the inside, i.e., if dry and brown spots are increasingly found inside, then this is also a sign that requires action. Depending on the plant species, division is advisable after 3-6 years. In blue fescue (Festuca cinerea), for example, you can tell when division is necessary when the leaf tuft turns brown from the inside. There are also long-lived perennials, such as the perennial peony (Paeonia), bearded iris (Iris barbata), or bleeding heart (Dicentra spectabilis). These plants can even remain undivided in the same location for decades. It's important to observe your plants. "If you're unsure, just ask your local perennial nursery," recommends Becker. "They'll be happy to provide you with expert advice and a wide selection of plants."
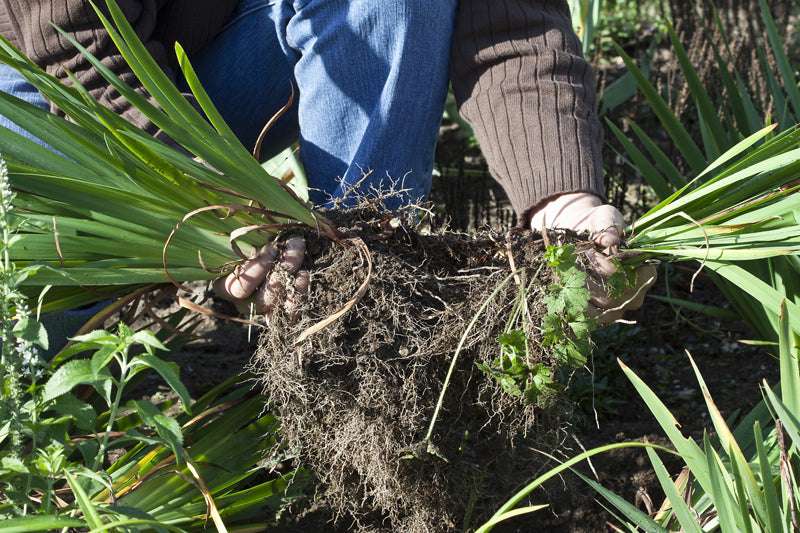
Sharing but properly! – The gardening tip
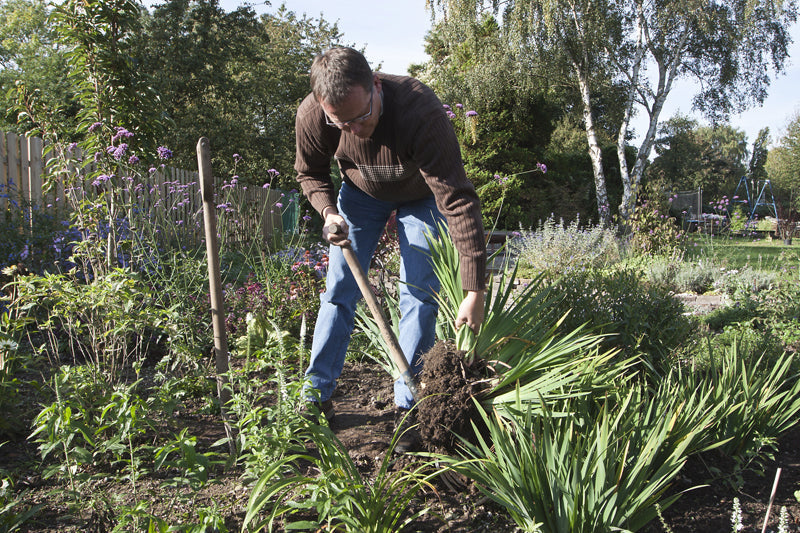
"Carefully lift the perennials from the soil with a spade or digging fork, digging around the entire plant," explains Becker. The excavated piece is then divided into smaller pieces, by hand if possible, or with a spade or digging fork for hard root balls. Dry and dead plant material should be removed. Only vital plant parts with intact buds are left. The individual pieces are trimmed with scissors by about one-third at the top and one-third at the base to ensure everything grows back properly. "It's best to replant the perennials immediately after dividing them," advises Becker. To do this, the soil should be loosened and weeded. It is important to water the new planting well. Becker recommends mixing well-aged compost into the planting. If necessary, a small starter fertilizer with organic fertilizer, such as horn shavings, can be applied in small doses. It's important that each section contains enough buds capable of sprouting. It's important to note that a strong, well-rooted plant should never be transplanted without being divided; otherwise, it will wither away for years. "Dividing the plant will make it look good again much faster," says Becker. Perennials such as the phlox (Phox paniculata), the monarda (Monarda hybrids), and the perennial daisy (Leucanthemum) should be picked up and divided after three to five years to rejuvenate the plants.
Example: How to divide sedge (Carex) and burnet (Sanguisorba) correctly
The example of Carex plants clearly illustrates how division should be carried out. After 4-5 years, the Japanese sedge (Carex morowii) becomes increasingly dry inside and develops brown leaves in the center of the plant. If you notice this, you should take action in March or September/October.
"First, use a spade to dig the entire plant out of the soil all around. Make sure to damage as little root mass or shoot buds as possible," explains Becker. Then, using a sharp spade, divide the plant into individual pieces. Old, brown leaves or rotten root parts can be removed. Shorten the roots and foliage by about a third. This leaves vital sections of the main plant, which can then be rearranged. Becker's tip for grasses: "You can achieve particularly good growth rates with grasses by dividing them in spring."
The burnet (Sanguisorba) can also be divided in the fall or spring as described above. This easy-care plant is still far underused. It is completely undemanding, long-flowering, durable, and extremely attractive. Low-growing varieties such as 'Red Thunder' form wonderfully dense carpets, whose red flower heads appear from June to August. Division produces several individual specimens, which can then be repeated repeatedly in a planting. The burnet should be divided every 4-5 years.
Let your creativity run free
"In addition to improving plant vitality, dividing plants offers another major advantage," Becker notes. It allows us to continually redesign a bed and incorporate the experiences we've had with the plants. If one plant grows too tall, it's placed in the background. If one plant crowds another, this can be remedied by removing the perennials and dividing them, and planting the plants at the correct distance according to their growth. "If you arrange as odd a number of plants as possible, i.e. 3, 5, or 7, you'll create more harmonious gardens," advises the perennial expert. Repetition can also achieve great effects. The divided plants can then be found several times in a planting. When rearranging, new plants can also be introduced that complement each other in growth habit or color. The great thing about this is that you can incorporate your personal taste. Some people like their plants to be sorted by color and have a long blooming period. Others want their plants to require as little work as possible and should appear spacious and tranquil. The variety of design possibilities with perennials is unlimited.