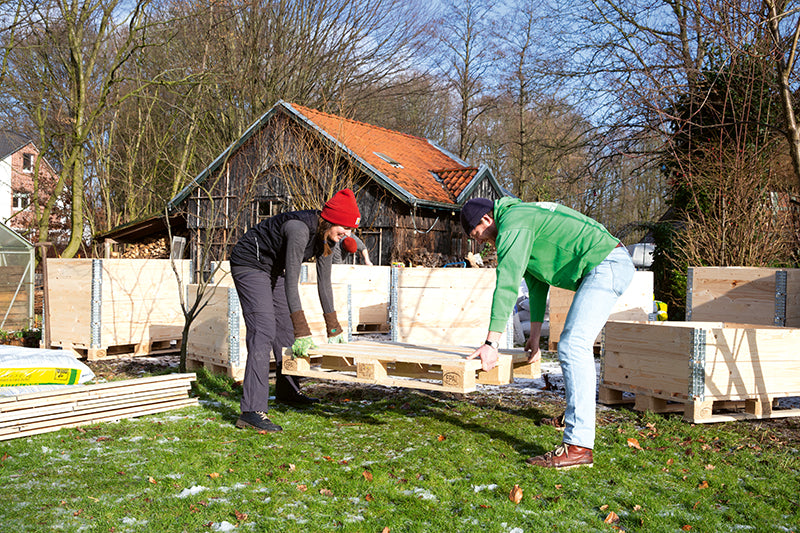
Pallet raised bed
Raised beds are also ideal for gardens or balconies that are difficult to plant. They can be comfortably worked on while standing, and the self-contained layering system allows for earlier sowing than in open beds. This raised bed is made from pallets with a frame extension. Each raised bed can be reconstructed quickly, easily, and inexpensively. The dimensions are 120 x 80 cm. The height is variable and can be adjusted to your height. For comfortable working, we recommend installing three to four extensions.

PALLET RAISED BED as a quick-build kit
Material:
3 to 4 pallet collars
1 Euro pallet
1 close-meshed grid
approx. 5m² weed control fleece
Staple gun or hammer and nails
Wood stain
Step 1:
Anyone planning a raised bed probably already has a location in mind. First, decide where you want your raised bed and determine its orientation. Once you've determined the exact location, you can begin construction. To do this, first place the Euro pallet on the ground, roughly smoothing out any unevenness.
Step 2:
Now you can unfold the first pallet collar and place it on the Euro pallet with the hinges facing down. This should be completely problem-free and effortless, as the collars fit perfectly on the Euro pallet.

Step 3:
Before you assemble the other attachments, you should place the vole protection on the floor of the raised bed. To do this, simply cut the mesh to the correct size with pliers. The sides can be slightly bent upwards.
Step 4:
Stack the tops one at a time – this works best with two people. The number of tops determines the height of your bed and thus the level of comfort while gardening and the amount of filler material needed. So consider how high you want your bed to be beforehand. You should use at least two tops.
Step 5:
Done! The raised bed is up. To make it last longer, you should treat it with wood stain. When choosing a product, make sure it's environmentally friendly and non-toxic! The toxins leach from the wood into the soil, then from the soil into the plants, and ultimately into your stomach. At hardware stores, you can find products like "Auro Wood Stain," which are harmless to the environment, your vegetables, and you. If necessary, consult a professional.
Step 6:
To prevent the contents of the bed from slipping through the holes in the pallet base, you'll need to line the raised bed with fleece. Cut it to the correct size and staple it to the inside of the bed. If you don't have a stapler handy, you can simply hammer in small nails.
Step 7:
Now's your chance to double-check whether the location is truly perfect. Because once you've filled the raised bed, it won't be so easy to move. Unless you know someone with a forklift... So, is the raised bed in a good spot? Is it aligned correctly? Then all you have to do is fill it (you'll find out how on page 14), and the gardening can begin!
← vorheriger Post: Planting herbs in pots – this is how basil, chives and lemon balm thrive on balconies and windowsills

The content of this article is from the book:
Fresh from the raised bed – The practical guide
The city gardeners
128 pages, hardcover
ISBN: 978-3-96093-267-3
Price: 15,00 €
In their new book from EMF Publishing, Die Stadtgärtnern offers all self-sufficiency enthusiasts the ideal introductory guide to raised bed gardening. From building and laying out the raised bed to sowing and care, everything is clearly explained month by month.